Ultimate NZXT Kraken Elite 360 Liquid Cooling Installation: Boost Your System’s Thermal Performance with These Easy Steps
Why Choose the NZXT Kraken Elite 360?
When it comes to enhancing the thermal performance of your gaming or workstation PC, the NZXT Kraken Elite 360 is one of the best all-in-one (AIO) liquid coolers on the market. This 360mm AIO liquid cooler is packed with features that make it a standout choice for anyone looking to keep their CPU at optimal temperatures while adding a touch of elegance to their build.
Understanding the Components
Before diving into the installation process, it’s essential to understand what you’re working with. Here’s a breakdown of the key components of the NZXT Kraken Elite 360:
Also read : Top Tips for Building a Safe Wi-Fi Network at Home with TP-Link Archer C5400X
- Custom-designed NZXT Turbine Pump: This pump delivers a high flow rate and head pressure, ensuring powerful yet quiet CPU cooling. It offers a 10% boost in cooling performance compared to its predecessor[1][3].
- 2.72-inch IPS LCD: This vibrant display allows you to showcase GIFs, images, and real-time system performance. It also integrates with services like Spotify and YouTube[1][3].
- Dynamic RGB Ring: Customize the RGB lighting effects to match your build’s aesthetic or synchronize it with other RGB devices[1][3].
- High Static Pressure Fans: These fans provide strong airflow and feature a Zero RPM Mode for silent operation at low loads[1][3].
Preparing Your Case
Choosing the Right Case
Not all cases are created equal, especially when it comes to liquid cooling. Here are some key features to look for in a case that will accommodate the NZXT Kraken Elite 360:
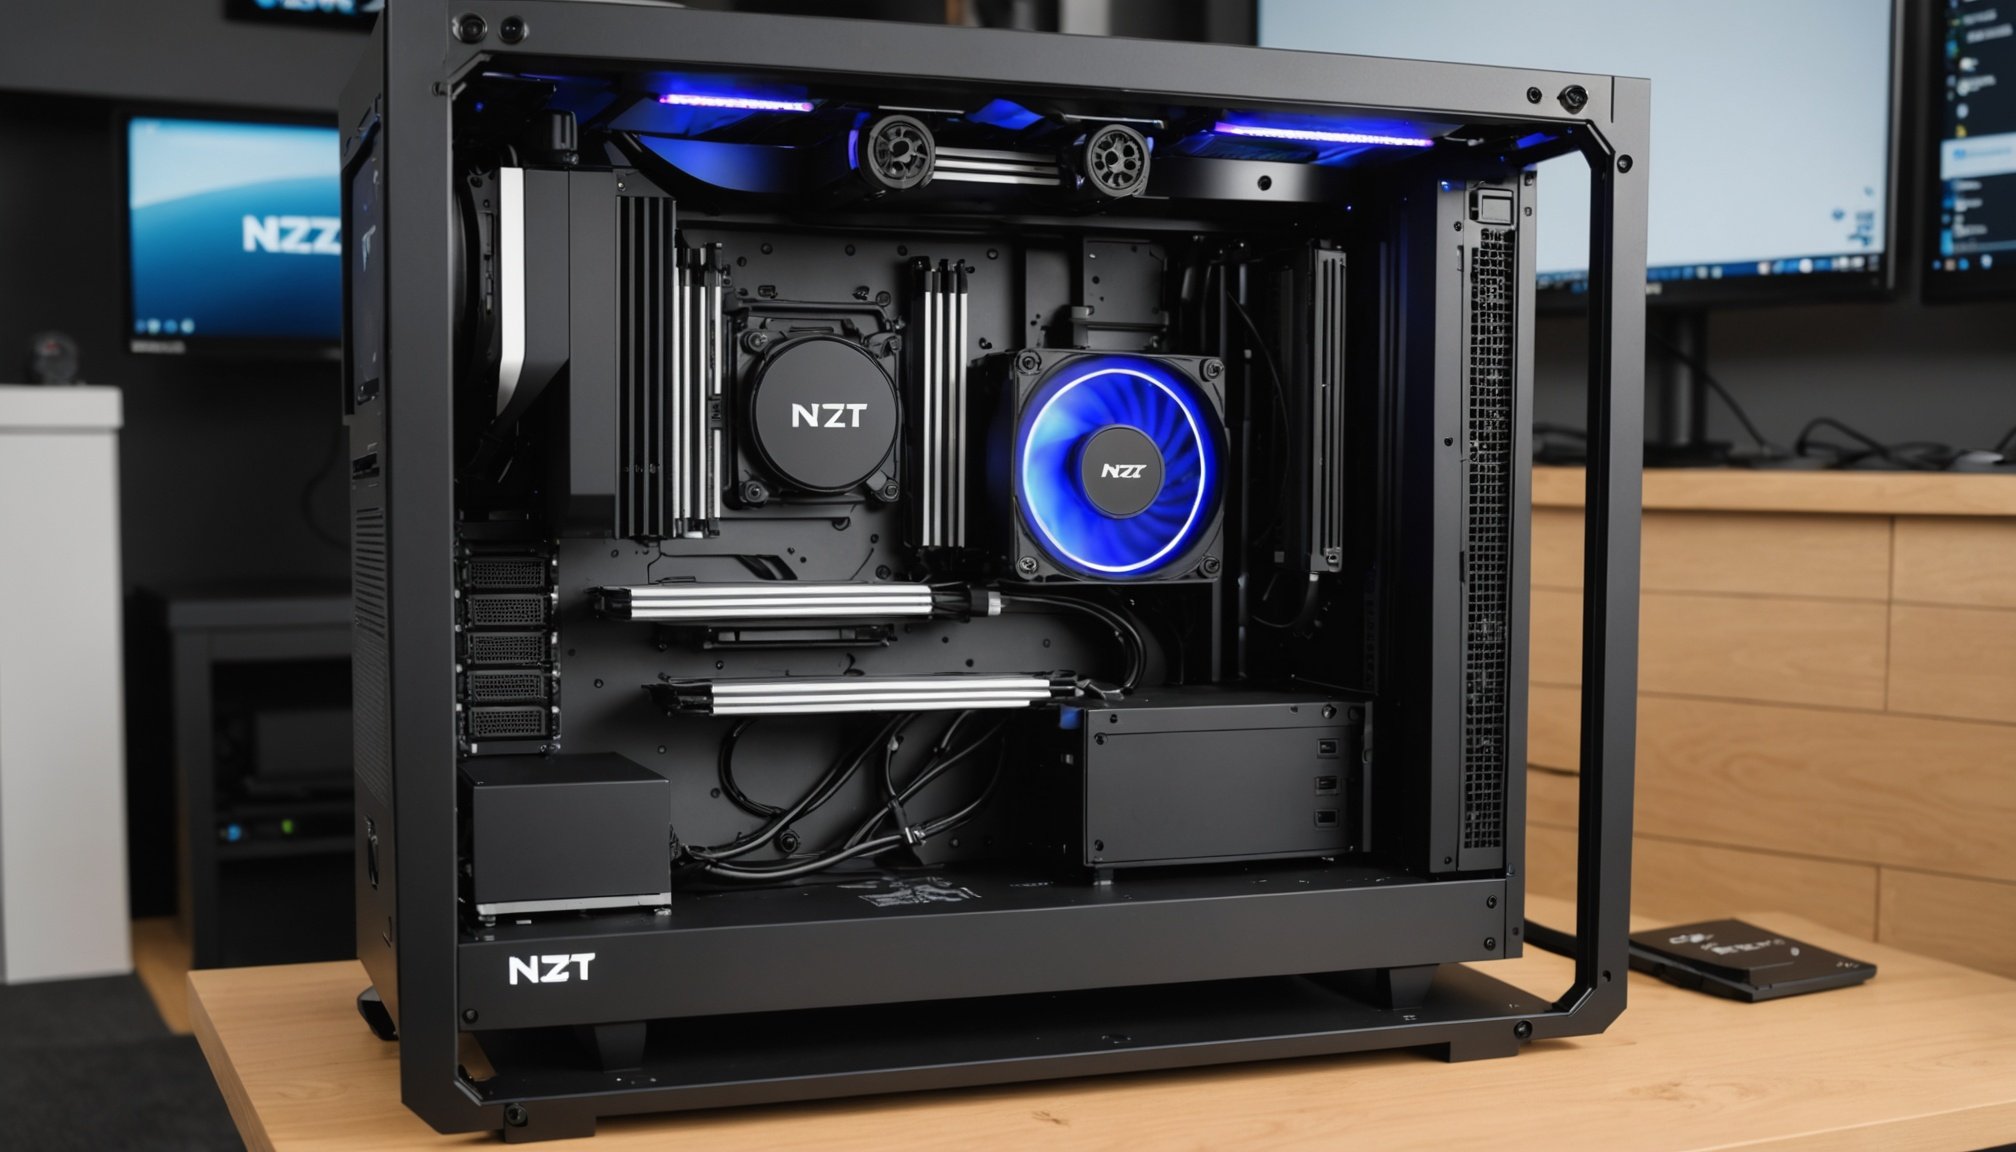
- Mid-Tower or Larger: Cases like the NZXT H7 Flow offer ample space for 360mm radiators and provide excellent airflow[2].
- Radiator Support: Ensure the case supports up to 360mm radiators in the top or front. The H7 Flow, for example, can accommodate up to 420mm radiators in the front and 360mm in the top[2].
- Cable Management: A good cable management system is crucial for keeping your build clean and organized. Look for cases with wide channels, built-in hooks, and included straps[2].
Example: NZXT H7 Flow
The NZXT H7 Flow is an excellent choice for housing the Kraken Elite 360. Here are some of its key features:
Also to see : Mastering Overclocking on ASUS ROG Crosshair VIII Hero: The Definitive Liquid Cooling Handbook
| Feature | Description |
|---|---|
| Motherboard Support | E-ATX (Up to 277mm), ATX, Micro-ATX, Mini-ITX |
| Case Material | SGCC Steel, Ultra-Clear Tempered Glass (White), Dark Tinted Tempered Glass (Black) |
| Dimensions | Height: 544 mm, Width: 244 mm, Depth: 468 mm |
| Fan Support | Front: 3 x 120 mm / 3 x 140 mm, Top: 3 x 120 mm / 2 x 140 mm |
| Radiator Support | Up to 420mm in front, up to 360mm in top |
| Cable Management | Wide channels, built-in hooks, included straps |
Step-by-Step Installation Guide
Unpacking and Preparation
- Unpack the Kraken Elite 360:
- Carefully remove the cooler from its packaging and ensure all components are included (AIO unit, fans, installation accessories, breakout cable set, PWM splitter cable)[1][3].
- Prepare Your Case:
- Ensure your case is clear of any obstructions and that the mounting points for the radiator are accessible.
Installing the Radiator
- Mount the Radiator:
- Identify the mounting points in your case for the 360mm radiator. Typically, these are located at the top or front of the case.
- Use the tool-free mounting brackets provided to secure the radiator. Make sure it is firmly attached to avoid any leaks or damage[1][3].
- Connect the Fans:
- Attach the high static pressure fans to the radiator. Ensure they are securely fastened and connected to the PWM splitter cable.
- Connect the fans to your motherboard or fan controller. The Kraken Elite 360 comes with fans that support Zero RPM Mode for silent operation at low loads[1][3].
Installing the Pump and CPU Block
- Apply Thermal Paste:
- The Kraken Elite 360 comes with pre-applied thermal paste, but if you need to reapply, use a high-quality thermal paste to ensure optimal heat transfer.
- Mount the CPU Block:
- Use the tool-free mounting brackets to secure the CPU block to your CPU. Ensure it is compatible with your CPU socket (Intel LGA 1700, 1200/115X, 1851; AMD AM5, AM4)[1][3].
- Connect the Pump:
- Connect the pump to the radiator and ensure all tubing is securely attached. The extended rubber tubing with braided sleeving provides worry-free handling and long-term leak protection[1][3].
Connecting the LCD and RGB
- Connect the LCD:
- Connect the breakout cable to your motherboard’s USB header. This will power the 2.72-inch IPS LCD and allow you to customize its display[1][3].
- Customize the RGB:
- Connect the RGB ring to your RGB controller or motherboard’s RGB header. Use software like NZXT’s CAM to customize the lighting effects and synchronize them with other RGB devices[1][3].
Cable Management and Final Touches
Cable Management Tips
- Use Cable Ties and Straps: Keep your cables organized using the included straps and cable ties.
- Route Cables Through Channels: Utilize the wide channels in your case to route cables, keeping them out of sight and improving airflow.
- Secure Cables with Hooks: Use the built-in hooks in your case to secure cables and prevent them from obstructing airflow[2].
Final Check
- Ensure All Connections Are Secure: Double-check that all connections (fans, pump, LCD, RGB) are securely attached.
- Test Your System: Boot up your system and ensure everything is working as expected. Use software like CAM to monitor temperatures and customize your setup.
Practical Insights and Actionable Advice
Choosing the Right Power Supply
When building a system with an AIO liquid cooler like the Kraken Elite 360, it’s crucial to choose a power supply that can handle the power requirements of your build. Here are some tips:
- Calculate Your Power Needs: Use online tools to calculate the total power draw of your system.
- Choose a High-Quality PSU: Look for power supplies with high efficiency ratings (like 80 PLUS Gold) and sufficient wattage. For example, the NZXT C1200 Gold ATX 3.1 is a reliable choice[1].
Customer Reviews and Feedback
Customer reviews can provide valuable insights into the performance and ease of use of a product. Here’s what some users have to say about the Kraken Elite 360:
- “The installation was surprisingly easy, and the performance is top-notch. The LCD display is a nice touch and adds a lot of personality to my build.” – NZXT Customer Review
- “I was impressed by how quiet the fans are, even at high loads. The RGB customization options are endless, and it integrates perfectly with my other RGB devices.” – NZXT Customer Review
Installing the NZXT Kraken Elite 360 is a straightforward process that can significantly enhance your system’s thermal performance. With its powerful Turbine pump, vibrant IPS LCD, and dynamic RGB ring, this AIO liquid cooler is a must-have for any serious gamer or enthusiast.
By following these steps and tips, you can ensure a smooth installation and enjoy the benefits of a well-cooled and visually stunning PC build.
Key Takeaways
- Choose the Right Case: Ensure your case supports 360mm radiators and has good cable management options.
- Follow the Installation Guide: Use the tool-free mounting brackets and pre-applied thermal paste for a hassle-free installation.
- Customize Your Setup: Use software like CAM to monitor temperatures and customize your RGB lighting.
- Select a Suitable Power Supply: Calculate your power needs and choose a high-quality PSU to ensure stable operation.
With the NZXT Kraken Elite 360, you’re not just upgrading your cooling; you’re enhancing the overall look and performance of your PC. Happy building


